Last night I was cleaning out Cole's lunch box & found a fruit roll-up. {the memories of my own obsessive love of these tiny treats all came rushing back! I'm fairly sure as a child I was addicted to these! ha!} Because I hadn't packed a fruit roll up in his lunch, I knew he had gotten it from someone else. I asked him & he said "Yep, my buddy Jake, he gives me one everyday!". Well, being a Mom, the first thing I say is "Oh, Cole - let Jake have his lunch, you don't need to take it, you have plenty in your lunch". He told me "I know, but he likes bringing something for me". In that moment I remember thinking "wow, he already understands that Jake gets joy in giving to him. That's kinda cool."
Later that night I decided to text Jake's Mom to let her know about the fruit roll-up (I was assuming that she didn't know), so she could assure Jake he didn't need to give away his lunch, he could eat & enjoy his treat himself :) When I told her, she responded that yes, she does know, they pack 2 everyday purposely so Jake can share with Cole. Well...of course my response was that they did not need to do that! But she shared with me that Jake enjoyed this, he wanted to give to Cole, and, they were happy to support it. Ah...the simplest of lessons. As Dave Ramsey says "Don't tell them to give more, Teach them how to give".
Yes, it was just a fruit roll-up, but for a 6 year old - that's a pretty big deal. Those sweet sugary treats are pretty irresistible - and, he's choosing to share, everyday, with his buddy. I'm reminded of Jesus's words "He who is generous will be blessed, for he gives some of his food to the poor" Proverbs 22:9 (now, obviously I don't consider us poor - but the meaning is the same :)
At the age of 6, this little boy truly understands "It is more blessed to give than to receive" Acts 20:35. Now is that to say he will always want to share & give away his things? Of course not, but knowing he has great parents who are supporting him giving, will assure him a much better chance at beating the "all about me" culture we live in.
Another cool thing...today Cole asked if he could take an extra pack of cookies to share with Jake :) Hopefully the teachers & lunchroom staff will have mercy on these precious boys breaking the rules.
And now, I am craving fruit roll-ups....
Wednesday, March 21, 2012
Thursday, March 1, 2012
Reorganizing the Cabinets
I constantly feel like my kitchen is a disorganized mess, even though the kitchen I have now is three times as big as what I had before. So, I decided I needed to start looking at the way I'm utilizing my cabinets & see if there are changes that need to be made.
This is the cabinet I stored my spices in (I had already pulled a ton of stuff out before I had the "aha moment" to photograph the before & after)...

This is all the stuff I pulled out of that cabinet before the picture was taken!

This is the cabinet right next to it, and, immediately right of the stove. I had just put baking dishes & measuring cups in it before. It looked fine, right?
 Yeah, but it wasn't the best use of the space.
After thinking about it awhile, I decided to move all the spices over to the cabinet closer to the stove, and, WOW - it works much better. I picked up a stair stepped shelf to help organize the spices, and, some $1 plastic containers to place my spice packets in. Doesn't this look MUCH better?!

In the corner, lazy susan cabinet I placed my measuring cups, mixer attachments & some mixing bowls - since that is the area I bake in.
 It's still not perfect, this cabinet is a terrible waste of space the way they did it - but, it's better than it was!
I have many, many more cabinets to move on too. My goal is to get this all completed before I start refinishing the cabinets in May. Stay tuned :)
This is the cabinet I stored my spices in (I had already pulled a ton of stuff out before I had the "aha moment" to photograph the before & after)...

This is all the stuff I pulled out of that cabinet before the picture was taken!

This is the cabinet right next to it, and, immediately right of the stove. I had just put baking dishes & measuring cups in it before. It looked fine, right?

After thinking about it awhile, I decided to move all the spices over to the cabinet closer to the stove, and, WOW - it works much better. I picked up a stair stepped shelf to help organize the spices, and, some $1 plastic containers to place my spice packets in. Doesn't this look MUCH better?!

In the corner, lazy susan cabinet I placed my measuring cups, mixer attachments & some mixing bowls - since that is the area I bake in.

I have many, many more cabinets to move on too. My goal is to get this all completed before I start refinishing the cabinets in May. Stay tuned :)
Wednesday, February 29, 2012
Lego Instruction Book Organization
If you have a child that loves LEGO's, chances are you have a million instruction booklets. We were constantly digging through piles, books, shoeboxes to find the one we needed - I knew I had to devise some type of system. The hopes of keeping each set in it's own box, long went away - so I needed a universal system for the instruction booklets.
I started by laying everything out on the table. This is what I was left with...

After I thought about it (for awhile) I realized that the only real solution for now was to put them in a binder. To simplify things, I bought several packages of sheet protectors at Dollar General, and, put a booklet in each packet. As much as I would love to divide the booklets up & put a page on each side to make it easy to flip through them to build...I would have needed a 12 inch binder for that! This was the easiest solution for now.
I have visions of laminating each booklet - but, that will take a ton of time, patience & laminating sheets. Maybe someday :)
Monday, February 27, 2012
Home Managment Binder
This may be my proudest project yet. I HATE being unorganized, and, I was finding that the paperwork was taking over my life. This is step one in curing that!
I had seen ideas for several binders on the internet, but nothing that really worked for me - so, I decided to make my own!
I started with a 3in, 3-ring binder. Of course I wanted it to be pretty, so I opened up photoshop & worked on a cover page & a spine cover for my binder.

Here are closer looks at my covers. {you will see a different name on these - my SIL could use a little help in organizing too, so I made her one for Christmas!}


Inside my binder I have the following categories...
Meal planning
Gift Giving
Projects
Financial
Photography
And my volunteer projects (which include the church website, and, Mom's Group)
Each of these categories have customized printables that I use to plan my meals, track birthdays & Christmas, household projects, warranties & online log-ins & passwords. Household maintenance, vehicle maintenance & a long term "to-do" list area ll included. I also have sheets for pictures to edit, and, pictures to order - so I don't forget what I'm working on!
I have been successfully using this for 3 months now, and, It's safe to say it's now a regular part of my routine. It makes everything so much easier!
Next up...organizing Cole's school paperwork, projects, artwork :)
Friday, February 24, 2012
Homemade Christmas Gifts
This year I had so much fun taking a little extra time & making some homemade gifts... all pinterest inspired, of course :)
I'm not a super crafty person, but, I think these projects were even easy enough for me.
Picture Ornament (this picture was taken before the ribbon was tied on the top)

Personalized Coasters. These are awesome! I made both photo & monogram ones. We gave them to teachers & friends.

These puzzle piece ornaments were perfect gifts for our Autism Support Group friends and therapists.

Next year I hope to make many more homemade gifts :)
Our surprise Christmas Adventure
{I'm determined to get our Christmas posts up before Easter! ha!}
On a Friday morning, Darky our Elf brought the boys a letter from Santa. Because they had been so good, he was sending us on a Christmas Adventure with Big Papa & Nana!

Ready to go! It was just me & the boys :)

When we got to the hotel, we found they had the best Christmas Decorations!

The staff made Gingerbread houses & guests got to vote on them (our vote was for the UP house!)

That sneaky Elf even followed us to the hotel, and wreaked havoc on the boys pictures.

Headed home after our fun weekend! (well, until we got stuck in an hour long traffic jam :/)

So..are you interested in knowing where our surprise Christmas adventure was too?? My parents took us to Historic St. Charles! It was so fun :)
Our LONG awaited new floors!
Since Cole was old enough to walk, I have dreamed about having different floors. Something that does not stain every time apple juice, ketchup, (vomit) hit the floor. Last fall we picked out what we wanted, and, started saving...right before Christmas Lumber Liquidators had a huge sale that finally made our flooring affordable. Bright and early the day after Christmas, my hubby got started!
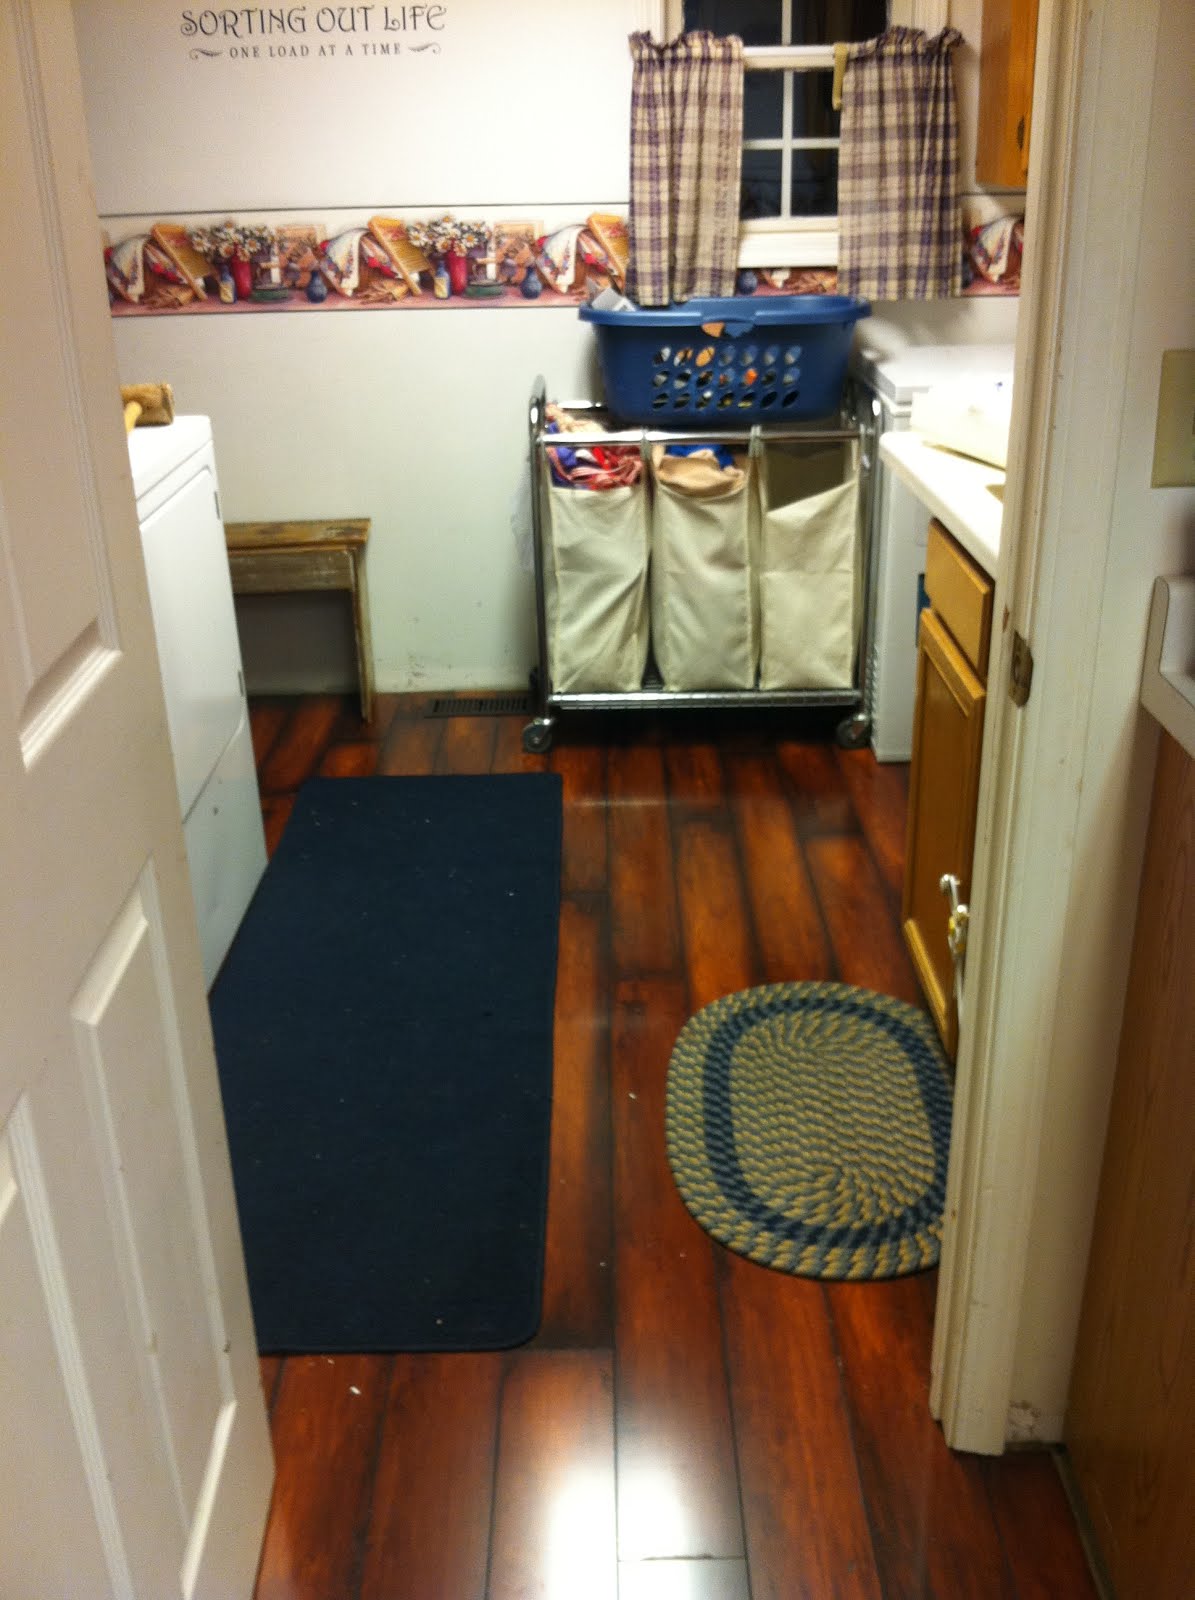
We decided to run this beautiful Vintners Reserve Laminate Hardwood through our Living Room, Kitchen & Laundry Room. It was a big project!
This picture shows the {ugly} laminate we had before in the kitchen & laundry room, and, the beautiful wood we replaced it with :)

When we started to pull up the carpet in the living room we found real hard wood! Sadly, it was pieced together in several places with plywood - so we didn't have the choice to refinish it.

Here's the living room...almost done!

Beautiful!

Don't worry, I have plans for those kitchen cabinets. Soon they will be a beautiful antique white :)


And look, we even got a housekeeper as a bonus!

There is still so much work to be done. Paint in the living room, stairway & kitchen. Trim painted & back up. Area rugs to purchase. Cabinets & counter tops to refinish. Yep...the projects just keep coming! (too bad the money doesn't come with it!)
We decided to run this beautiful Vintners Reserve Laminate Hardwood through our Living Room, Kitchen & Laundry Room. It was a big project!
This picture shows the {ugly} laminate we had before in the kitchen & laundry room, and, the beautiful wood we replaced it with :)

When we started to pull up the carpet in the living room we found real hard wood! Sadly, it was pieced together in several places with plywood - so we didn't have the choice to refinish it.

Here's the living room...almost done!

Beautiful!

Don't worry, I have plans for those kitchen cabinets. Soon they will be a beautiful antique white :)

And look, we even got a housekeeper as a bonus!

There is still so much work to be done. Paint in the living room, stairway & kitchen. Trim painted & back up. Area rugs to purchase. Cabinets & counter tops to refinish. Yep...the projects just keep coming! (too bad the money doesn't come with it!)
Subscribe to:
Posts (Atom)